My wife got this damaged item for nothing from the plant nursery where she works.

The little white tag reads, "X-614 RUSTED BIRD FEEDER[1]
UDL - MADE IN CHINA"
It obviously has a bit broken off -- I'll see if I can repair that satisfactorily with CA adhesive. The column is missing an M5 threaded stud that's needed to attach the bowl to the top of the column. That should be easy to correct, so I'll start with that.
Replacing The Missing Stud
It turns out that I have a 16 mm long M5 setscrew on hand. It's almost exactly what's needed here.

I'll install it in the top of the column with blue threadlocker, with 6mm of the setscrew's length protruding for attachment to the bowl. That will be a near-perfect solution to the problem.
- - -
And here we are with an M5 stud right where it ought to be.

Trial Assembly
It went together fine.

It's quite a handsome little objet, really. It remains to be seen what the birds think of it.
Anyway, next up is to reattach the broken-off piece. That may prove to be a bit challenging.
Repairing The Break
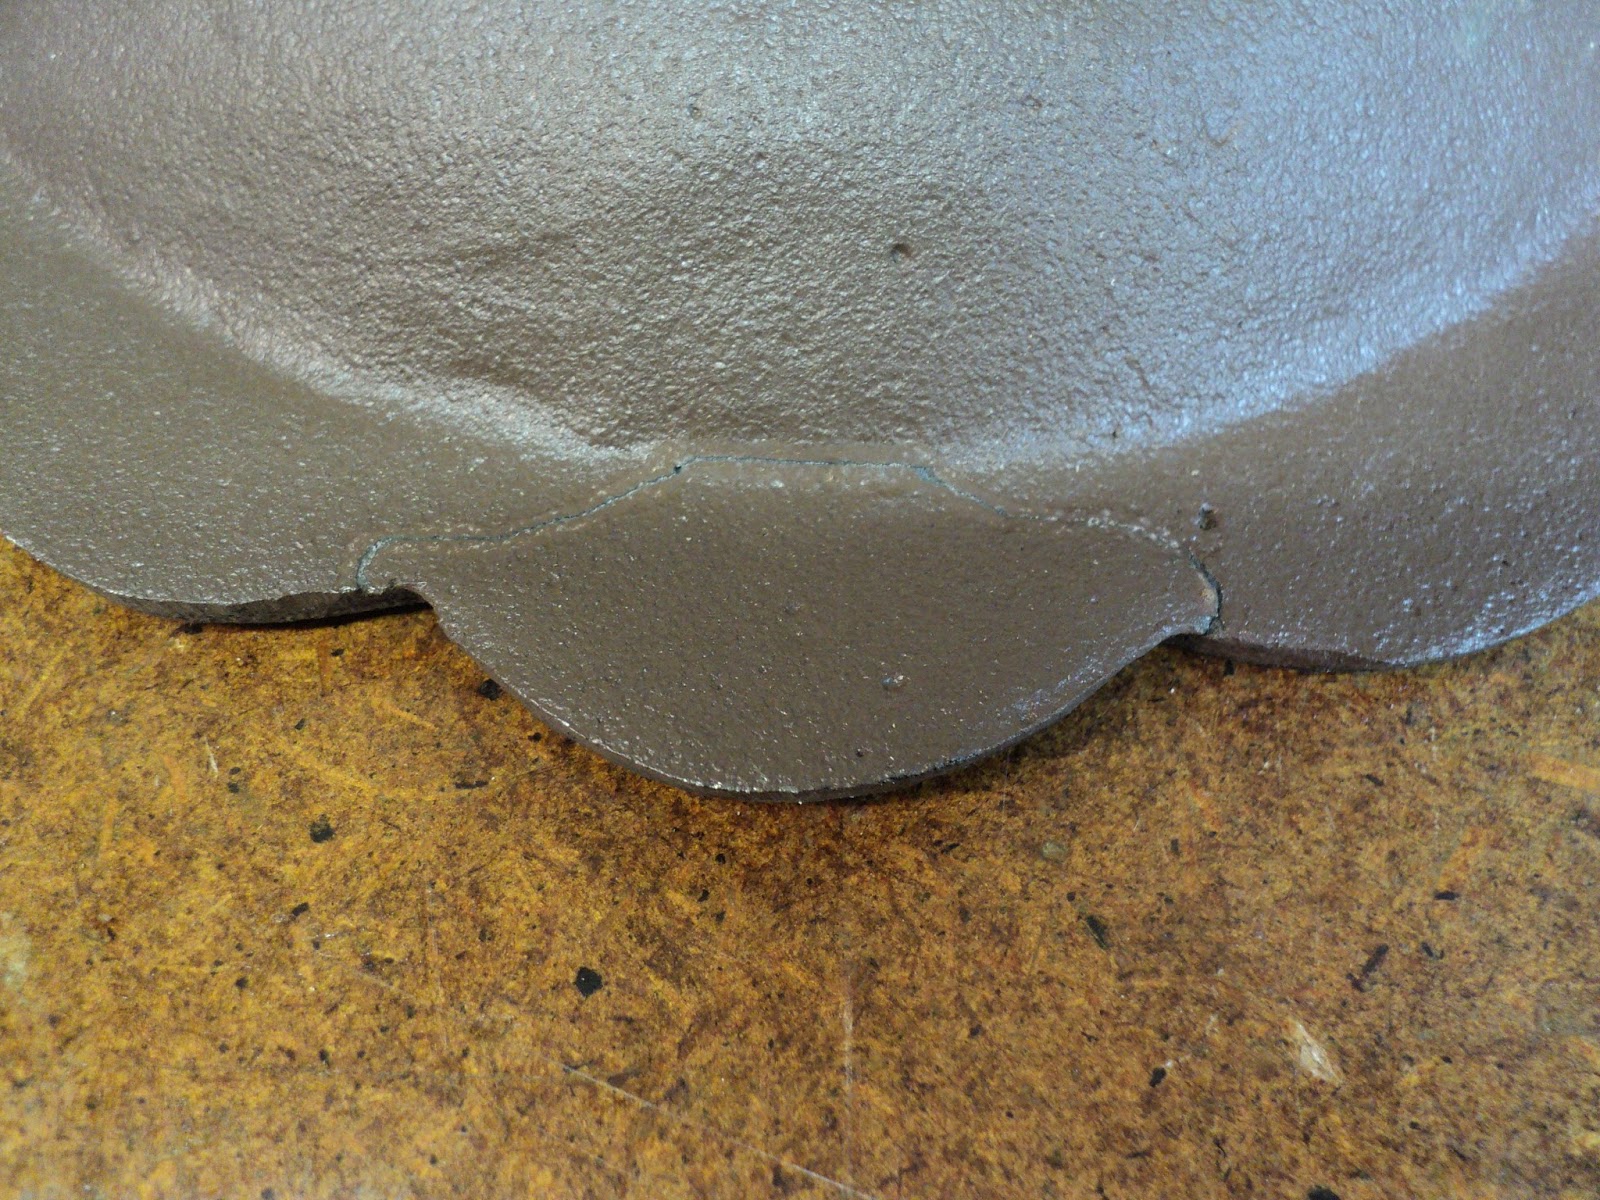
Here's a view of the bowl with its broken-off piece fitted back into place, and propped up on a small block of wood.

The fit is good but not perfect. CA adhesive might work here. Although CA adhesive is not meant to be a filler, I've found that repeated applications to very small gaps will serve as a filler.
I've been advised to use J-B Weld for this, and I may yet regret not heeding that advice, but I'm going to go with CA adhesive, if only because it's so easy to use in a case like this. Just hold the parts together and apply the adhesive to the seam. Provided that the CA adhesive is fresh and runny, the adhesive will wick into the seam by capillary action, and bond the two pieces together. (At least, that's the theory.)
For this job, I'll hold the thing together upside down with my left hand, and apply the adhesive at the underside of the seam with my right. If I get lucky here, I may get a repair that's nearly invisible.
The Repair So Far
Here's a view of the repair from the underside, the side where I applied the glue.
And from the topside.

It's a good repair as far as it goes, but I'm a little disappointed that I don't see evidence of the CA adhesive having wicked through all the way to the top surface.
Although it will spoil the appearance a bit, I'm going to apply more CA adhesive, this time at the top. That should truly seal the repair interface, and should leave me with a repair that can withstand being left out in any weather.
The Topside Appearance Now
After two applications of CA adhesive.

The adhesive residue does call attention to the repair somewhat, but at least now the repair interface is well sealed topside.
Something I'd Overlooked
This had escaped my notice somehow; my wife pointed it out to me. There's a single hole near the perimeter of the bowl.

The hole is countersunk underneath, as though for a flat head screw. There's no doubt a piece missing from from this item -- a perch, probably.[2]
I'm not going to pursue the matter. Anything I could fabricate by way of a perch would look mechanistic, and out of character with the bowl. The missing piece probably had a nice, sculpted appearance to it, mimicking a leafy branch, possibly.
Anyway, the repair is as done as it's going to get.

I think the thing would make a better candy dish than a bird feeder, actually, but it might be wisest to keep that opinion to myself around here.
- - -
Notes:
[1] This item looks to me a lot more like a bird bath than a bird feeder. I think others would agree. How a manufacturer can not even know the proper name of what it is that he's manufacturing is a mystery to me.
[2] A reader kindly clued me in to what the missing piece most likely is -- a bird, so it would look as though there's a bird already at the bath. If you google for images of 'cast iron bird bath', you'll find many examples.
# # #
# # #
No comments:
Post a Comment