I had sworn off repairing old domestic vacuum cleaners. Most of them are such pieces of crap to begin with that they're more aggravation than they're worth. But my workplace was tossing this Hoover portapower, and I thought I'd make an exception for it.

As compact vacuum cleaners go, these are a pretty decent unit. Hoover stuffed a full-size, two-stage blower into that housing, so the machine is not feeble. It's a proper vacuum cleaner.
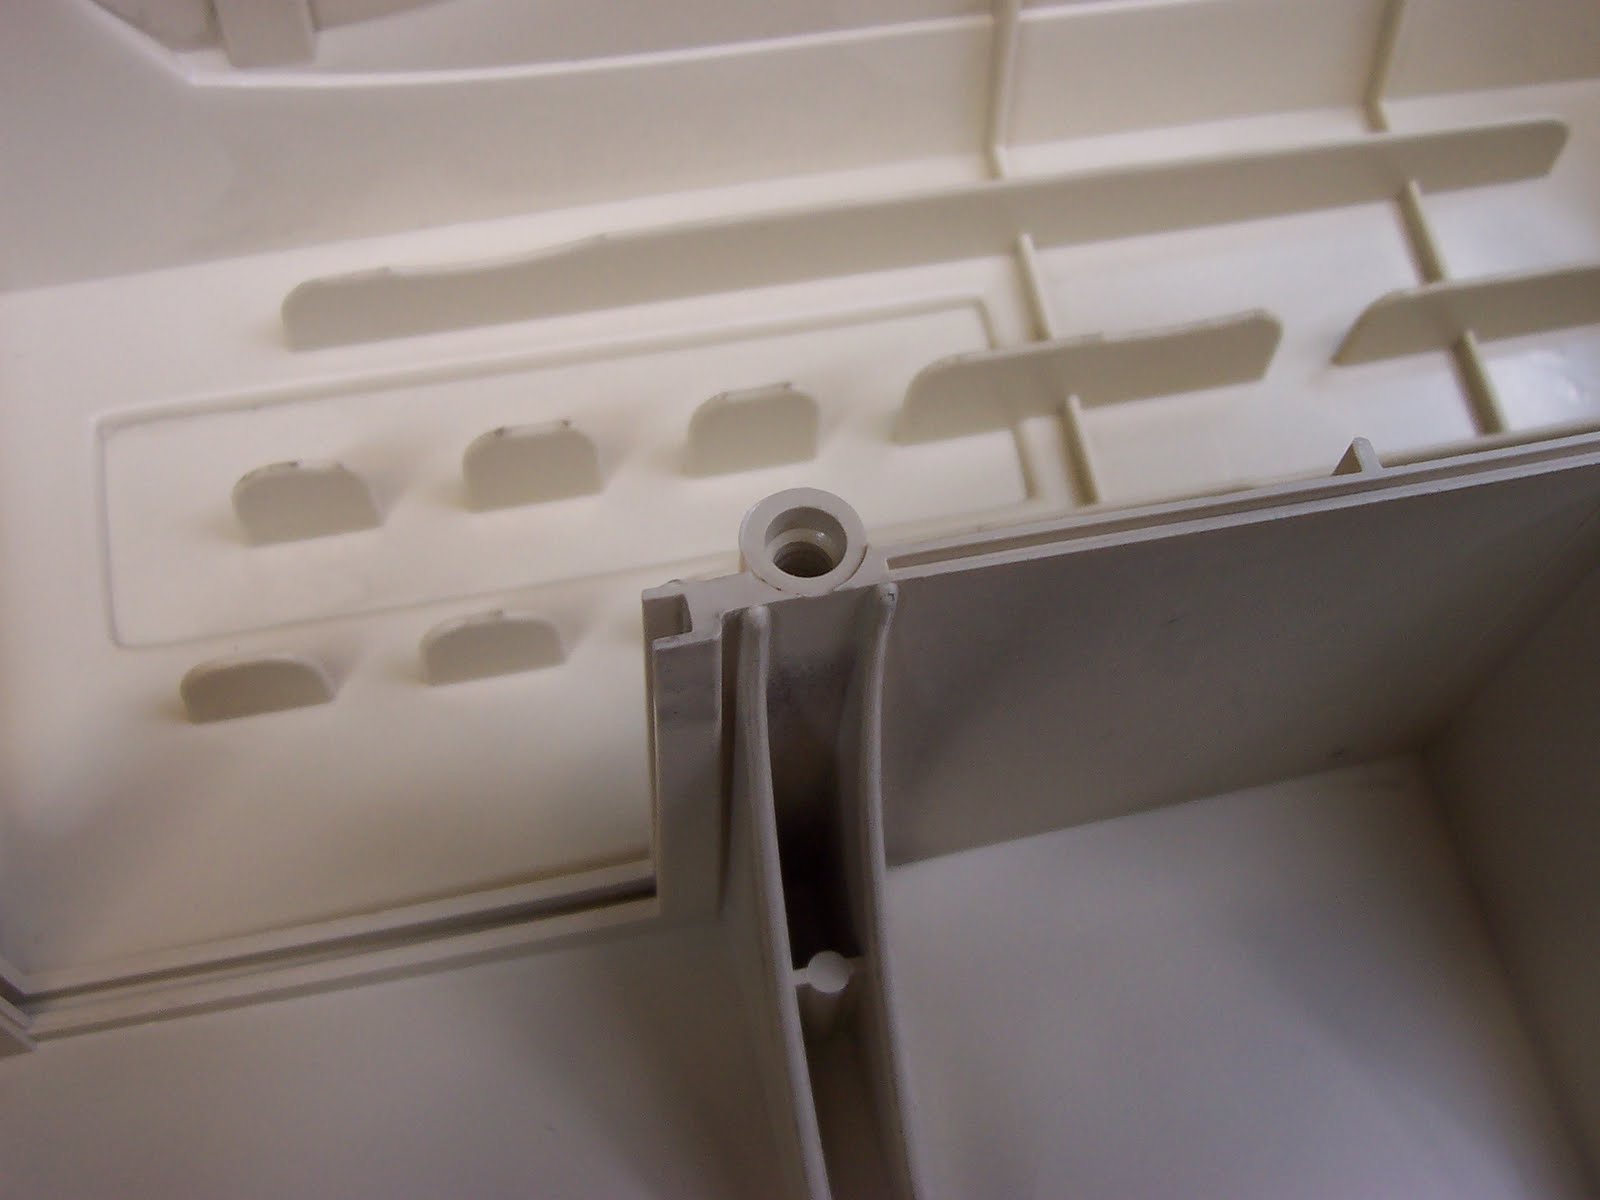
I was told that this one needed motor bearings. That turned out not to be true, but I tore it down anyway to clean and fully inspect it, and lubricate the unsealed rear motor bearing. It's a very straightforward design. There's only one press-fitted component -- the rear motor bearing -- and that didn't need replacement.
Per my usual practice, following is a largely unillustrated sequential procedure for getting the motor out and apart. Unless otherwise indicated, the fasteners are all No. 2 Phillips recess.
1. Filter Bag
> Unlatch and open the 'door' where the hose connects. The bag can be pulled out.
2) Left Side Cover
> Two No. 10 x 3/4" pan head threading screws in the handle.
> Four No. 10 x 2 3/4" pan head threading screws in the body.
> The cover lifts away straight off.
3) Motor Black Wire at Switch
> The on/off slide switch just lifts out. The underside of the switch has a plastic cover that comes off easily. The motor's black wire is connected via a miniature spade connector. Pull it off.
4) Motor White Wire
> Cut and discard one ty-wrap.
> Cut off the top-hat crimp connector. At reassembly, use an orange wire nut to restore the connection.
5) Motor
> Lift it out. NOTE that its white wire emerges at the right side (down in its present orientation).
REASSEMBLY NOTE for the following two items:There's an opening in each brush holder that will admit a slender spring hook. That enables you to hook the brush's spring and hold it retracted while you get the brush holder back in position -- a big help. 6) Underside Brush Holder (Black Wire)
> NOTE: Keep the holders pressed against the motor's frame as you remove each holder's screw. When the screw is out, pull the holder straight away, else the spring-loaded brush is liable to tilt the holder and jam it in place.
> One No. 6 x 5/8" pan head threading screw.
7) Top Side Brush Holder (Blue Wire)
> One No. 6 x 5/8" pan head threading screw.
> One 90
° spade terminal connection.
8) Rear Shock-Mount Ring
> Slip it off.
9) Front Shock-Mount Ring
> It's lightly adhered in spots, but it comes off easily.
10) Spindle Hex Nut (1/2" A/F)
> NOTE: It's a left-hand thread.
> Secure the motor in a woodworking vise by its flattened end where the brush holders were.
> Put a 1/2" open-end wrench on the nut and hold it steady.
> With a plain slot screwdriver with a perfectly fitting, perfectly ground tip, turn the motor's shaft CCW.
11) Oversize Flat Washer
12) Blower Cover w/First Stage Blower
> Four No. 8 x 3/8" pan head threading screws.
13) Second Stage Blower w/Oversize Flat Washer and Spacer Bushing
14) Oversize Flat Washer
15) Ring Washer
16) Motor Disassembly
> MARK the three sections with an engraver or centre punch. Even though they appear to be symmetrical, it's a good practice to always get things back together exactly as they were.
> Two 10-32 special hex nuts, 3/8" A/F.
> Two 10-32 x 2 1/4" hex head screws, 5/16" A/F.
> The motor can come apart and the armature can be pulled out now. There are two loose compression springs over the screws that are there to keep the field winding assembly biased against its seats.
17) Front Bearing
> There's a retainer with eleven little folded-over tabs holding it in place. Pry at the tabs with a small screwdriver to free it. Some of the tabs are liable to break off. That's ok. There's a better way to reinstall the retainer.
> The bearing is a slip fit in the end bell.
> The bearing is an NHBB 608D, sealed both sides, 8mm bore x 22mm O.D. x 7mm width. This is a widely used size of bearing that should be easy to find a replacement for if need be.
18) Rear Bearing
> It's a press-fitted needle roller bearing, INA SCE 65S, 3/8" bore. This could be a more difficult-to-get item were it to need replacement. And were it to need replacement, it's very likely that the armature's rear shaft stub might be beyond recovery as well, at which point it's game over for the motor.
> With the field winding out of the rear bell, wash the bell with its bearing in a parts washer and thoroughly blow it dry. Pack the bearing with grease. I'm partial to Canadian Tire's Wheel Bearing & Chassis Lubricant grease for this sort of thing.
19) Clean and blow the dust out of everything. Clean the commutator with lacquer thinner.
20) Front Bearing Retainer
> The folded-over tab arrangement can't be relied on for re-use. Break off any tabs that look ready to break off. Break off tabs A/R to get a balanced placement for three 4-40 x 1/4" screws. Install the retainer with the three screws and three No. 4 flat washers from outside. On the inside, install three more No. 4 flat washers and three 4-40 hex nuts w/blue threadlocker. Tighten firmly. Here's how it looks when done.

That's about it. The machine can be reassembled.
I don't know what to make of the story I got that this thing needed bearings. From the appearance of the brushes and commutator, this motor can't have very many hours of run-time on it.

Here it is ready to be closed up. Note the orange wire nut that's taken the place of the factory's crimp terminal.
It's a well thought-out machine. The wiring lays are roomy and neat; it will go together without a struggle.
Something I didn't mention earlier when I encountered it was a stripped female screw thread in the plastic boss for one of the long housing screws.
This post tells of a repair method for such occurrences.
I buttoned it up, installed the filter bag and tried it out. It runs beautifully, and should have years of life in it yet. I just need to get it a new filter bag. The one in it looks pretty ratty.
So, that was time well spent. Now I can swear off vacuum cleaners again.
- - -
FRIDAY, APRIL 15, 2011Addendum -- New Filter BagI found a vacuum cleaner shop near where I work that had a new replacement bag. Here it is. The old ratty one is on the left.

The guy wanted twenty dollars for it, which I thought was a bit much, but I wasn't about to dicker. A cash purchase from his shop right there, right then saved me a lot of business and commerce codswallop that I can always do without.
I don't know the part number of the thing; the transaction was done without paperwork -- a bit of underground economic activity. The shop owner unloaded a piece of old stock for cash that the authorities needn't know about, and I didn't have to pay any sales taxes. The shape of things to come, perhaps.

 That primer coat was a breeze. The turntable makes it easy to adjust an item's position any which way for spray painting it uniformly.
 I cut a disk from particleboard to just fit the turntable, and attached a Record No. 0 (2 1/2") mechanic's vise to it; all sorts of things become possible.
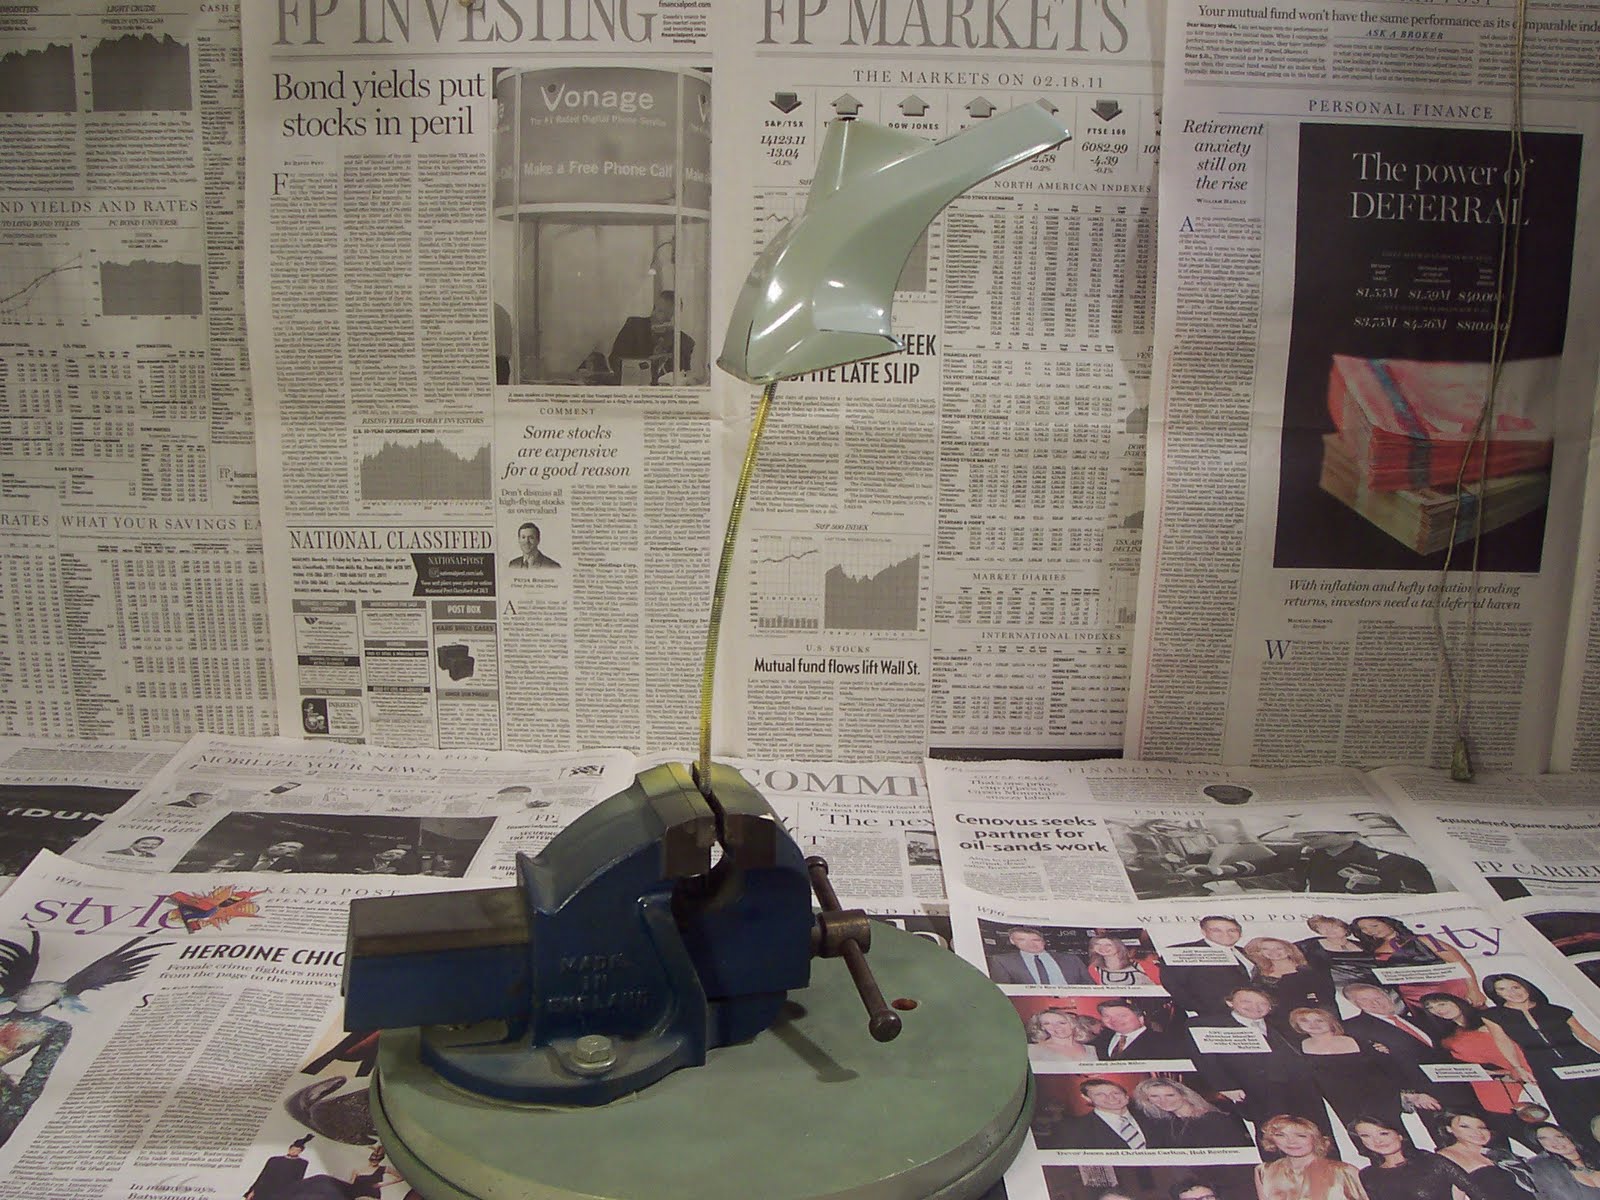 The faucet shell has a couple of 10-24 female-threaded bosses in it for securing the innards. So, a bit of threaded rod and a locknut were all that was needed here.
 In actual use, I cover the vise with newspaper to spare it the indignity of catching the spray fallout. Note the hole in the disc just in front of the vise's handle. That's for hanging the thing on a nail from a joist when it's not in use.