Sunday, October 17, 2010

Sins of the Door Hanger

Most of the doors in my house were hung by a guy who 'knew enough to be dangerous'. Much as I liked the guy, he was not a master craftsman. He got all the requisite pieces together and in place, but not in a manner that they work harmoniously. I've rehung or reconstructed several of his door installations, and made some quick-and-dirty 'adjustments' to a couple of others to get them to at least work until I can do a more thorough job of improving them.

The ironic thing about ill-hung doors is that the difference in material cost between a door that swings silently and clicks shut like a bank vault, and a squealing door that you have to body check to get it to shut, is exactly zero.

The door I'm currently dealing with won't even shut with a body check applied. It has several problems, but the one I need to solve first is the too-deep hinge mortise pictured.

I've taken off the stop moulding at the hinge side already. It was binding against the door as the door was 'closing'. I've also stripped the paint off the hinges; painted-over hardware makes me gag.

A too-deep hinge mortise is easy to correct. Just add a shim of the correct thickness and the problem is solved. This sort of thing is why I keep a bin full of cardstock from retail packaging on hand. It tends to be excellent quality material, of various thicknesses. Here, I'm going to need about a one millimetre thick shim. A brief rummage through my cardstock bin brought forth just what I needed.

- - -

That little punch is ideal for punching the screw holes in the shim.

- - -

With the shim in place under the hinge leaf, the mortise depth is as it should be; the hinge leaf is flush with the door casing's surface.

The next thing I have to do is take half-an-inch of length off the bottom end of the door, so it no longer collides with the edge of the hallway carpet. That raises a point about fine-tuning a portable circular saw that I really ought to do a post about.

# # #

FEEDBACK

# # #

195/256ths of an Inch

Pictured is my fractional inch vernier caliper in use taking the bore dimension of a hose-thread fitting. I introduced this tool in an earlier post here.

I use fractional inch measure a great deal, but until very recently, I never gave any thought to the possibility that very small fractions of an inch could be useful to actually work with; that was the province of decimal fractions of an inch or millimetres.

It came up that I needed to turn the end of a wooden pan-handle to a diameter that would be an interference/press fit in the bronze fitting in the picture, and that got me looking more closely at the caliper's resolution. What I found is rather interesting. (It is to me, at least.)

The caliper can resolve 128ths of an inch directly, and you can interpolate 256ths quite accurately. If you enlarge the photograph and look closely at the inch cursor, you'll see that it's reading 1/128th of an inch in excess of 3/4s of an inch. (That works out to 97/128ths, but don't bother with such expressions. I titled this post as I did for effect, but in actually working with such tiny fractions, it's much easier to just add them to the nearest larger fraction; hence, "1/128th of an inch in excess of 3/4s of an inch".) Let me digress here slightly with a brief list of some decimal conversions:

1/16th = 0.0625

1/32nd = 0.03125

1/64th = 0.015625

1/128th = 0.0078125

1/256th = 0.00390625

So, 1/256th of an inch is just shy of four thou. For fitting wood into a metal ring, that's press fit territory.

By interpolation, I set the caliper to 1/256th of an inch greater than the metal fitting's bore diameter and locked the slide in place there. And that's what I used to gauge the diameter of the end of the wooden handle as I turned it down. Pictured is the caliper set for that dimension -- 195/256ths of an inch, as in this post's title.

It worked. Once I got the diameter down to where the caliper would just go over it, I had my interference/press fit ready to assemble.

The rest of that story is here. (The outcome turned out not to be entirely successful, but for reasons that don't discount the validity of what Ive laid out here.) I'm looking forward to possibly finding further application for 256ths of an inch, and wood-into-metal press fits.

# # #

FEEDBACK

# # #

Sunday, October 10, 2010

Stainless Steel Fasteners

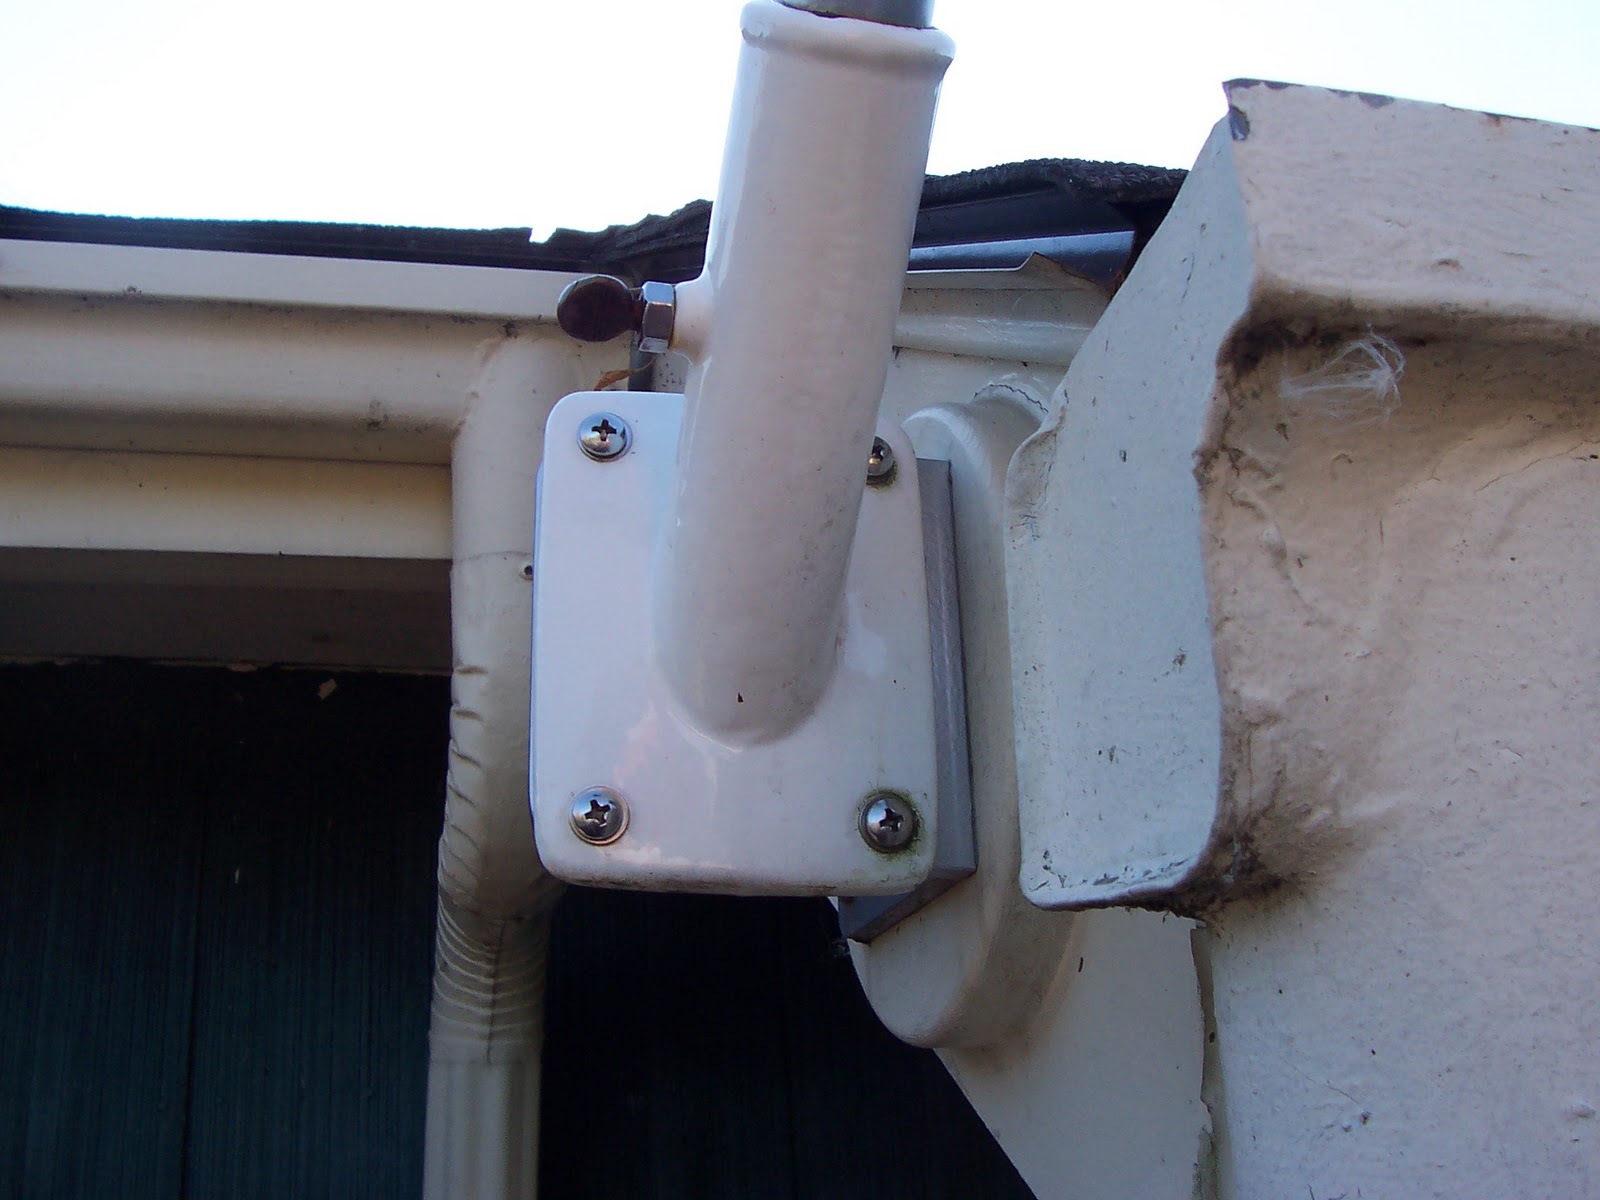
I was out replacing a faded flag, and I was reminded why I gladly pay the outrageous price to get stainless steel fasteners at times. That flagpole mount has been out in the weather for years, and those screws and washers still look fine.

The Home Depot has a pretty good selection of stainless steel items, but be prepared for a bit of sticker shock. Those four 10-32 screws plus nuts and washers would probably devour a ten dollar bill these days. But, hey, you can't have rusty screws holding up a pole for this flag, can you now?


* * *
SUNDAY, OCTOBER 31, 2010

Addendum

Further to 'outrageous price', this quite baffles me:

That 3 1/2" stainless steel hitch ring lag on the right was $6.69 at Canadian Tire. The No. 10 stainless steel flat washers next to it are 29 cents each at The Home Depot; so that little heap of twenty-two washers came to $6.38. What the bleep?

# # #

FEEDBACK

# # #

Thursday, October 7, 2010

They Don't Make 'em Like This Anymore

And a good thing, too.

Pictured is a blown fuse from the fusebox in my mom's home. You can tell that it's blown, can't you? My mom could. She looked in the fusebox, spotted the ugliest fuse (the others were all the 'modern' glass-faced type), replaced it, problem solved. Sometimes, you can 'judge a book by its cover', so to speak.

On the face of the fuse it says, "ECONOMY FUSE & MFG. CO.
CHICAGO, U.S.A." From what I got from Google, I don't think ECONOMY FUSE is with us any longer.

At the base of the fuse, there's this: "PAT. AUG. 15, 1916 FEB. 27, 1917 FEB. 18, 1919 OTHERS PENDING"

We're talking antique here. This is the sort of fuse your grandparents had to replace when they made the mistake of plugging a toaster and a radio receiver into the same outlet.

- - -

SATURDAY, OCTOBER 9, 2010

Addendum

Now you can tell that it's blown.

It comes apart easily. You can see the strip of foil that was the fuse element.

# # #

FEEDBACK

# # #

Thursday, September 30, 2010

The Poor Man's Day-Timer

I suppose if you're a member of parliament, or a mayor, or a corporate executive or a real estate agent, you need a Day-Timer to keep track of all your appointments and contacts and deals-in-the-works and what-have-you. But I lead a simple life; politics and business and commerce are not for me. I can get by with a dirt-cheap, home-made, shirt-pocket notebook. Here's a method for turning one sheet of office paper and three staples into a neat little 16-page notebook for keeping track of all the pressing chores and obligations in your life.

- - -

Take a single sheet of letter-size paper. Fold it in half. Fold it in half again. Fold in half again. Do the folds as precisely as you possibly can, and press the creases as sharply as you possibly can.

Now, with a regular office stapler, install three staples along the thing's 'spine'. Sight the stapler's staple-emergence position relative to the 'spine' as carefully as you can to get a good result.

Now, take a small utility knife with a sharp new blade in it, and slice the three folds that are preventing it from behaving like a booklet. Here's how it all looks at the point where you're about to slice the folds:

You'll end up with a smooth little 16-page notebook for jotting down all your chores, as you can see in the final photograph.


# # #

FEEDBACK

# # #

Saturday, September 25, 2010

Back-Up Washers for 3/32" Hollow Rivets

When using hollow ("Pop") rivets to fasten leather or fabric, you need to slip a close-fitting washer (back-up washer) onto the rivet before crimping it, so there'll be an unyielding encirclement for the rivet to 'peen' against. Flat washers dimensioned specifically for the purpose are available.

I needed back-up washers for 3/32" rivets this morning, and I wasn't about to waste time and fuel to go shopping for them. I looked in on my limited stock of No. 2 screw size items, and there I had a supply of No. 2 flat washers. They're 3/32" (0.09375") inside diameter, but they're not a slip fit on 3/32" rivets. Running a No. 41 (0.096") drill through them solved the problem. They worked perfectly. Pictured below is how I held them for drilling:

There's one little downside to this -- the washer gets marred by the Vise-Grip jaws. Aside from that, though, the method works fine.

If I ever come up with a good non-marring way to grip the tiny washers for drilling, I'll append it to this post.

- - -

SUNDAY, DECEMBER 18, 2011

Addendum -- A Non-Marring Way to Grip Small Washers

I found a way to do this. You need a spare 3/8" gear chuck, and a smooth, hard surface like the back of a Record mechanic's vise.

Have the chuck opened up to accept a diameter slightly greater than that of a washer.

Invert the chuck over top of a washer and carefully snug up the chuck by hand. You'll end up with this.

Tighten the chuck some with its key, and you're set up for enlarging the washer's hole slightly.

I've noticed that some of the 3/32" rivets I have on hand are a wee bit oversize, and a No.41 drill isn't quite big enough. A No. 40 (0.098") drill is needed for those.

# # #

FEEDBACK

# # #

A Riddle

At the risk of appearing a bit dense, I pose this question in all seriousness. The answer is not readily obvious to me.

- - -

Suppose you have a shaft that's exactly 1.000000" in diameter.

And suppose further that you have a hub with a bore of exactly 1.000000" diameter.

Is the shaft a slip fit or an interference fit in the hub's bore?

# # #

FEEDBACK

# # #