 I'd never seen it before. I have no idea how it could have gotten into our backyard, and I think we've been here long enough now to have found anything that the previous owner had ever lost.
I have a theory about this.
Just as small objects have a way of seeming to utterly vanish from this earth in this universe, perhaps there's a parallel earth in a parallel universe where the same thing happens. Our stuff vanishes to there, and their stuff vanishes to here.
We lost the pivot screw and nut from a pair of pruning shears awhile ago. I swear they just vapourized. Maybe some guy in some other space/time continuum is thinking the same thing about his missing garden hose ball valve, as he wonders where on 'earth' the pivot screw and nut came from.
In any event, this ball valve looks like a rugged, well made bit of gear. Underneath all that oxidation there's a thing of beauty. I'll clean it up and come up with a handle for it.
- - -
It looks like one side of the ball's seat can be unscrewed. Note the hexagonal opening in the following photo.
 That's a 12mm A/F hex, but its corners are quite rounded. I happen to have an M8 bolt with an undersize (i.e. 12mm) head on it. I'll round off the bolt head's corners and try using it for a 'key'.
- - -
Here's the bolt made ready with two nuts jammed together on it for wrenching on.
 And here's everything in the vise about to get wrenched.
 I should mention that another possibility for a key is a 1/4"-20 coupling nut. Such a nut's hex is 7/16"(11.11mm) A/F, which is well undersize, but might work.
- - -
And here it is completely dismantled.
 The ball can be slid out when it's in one of its two 'closed' positions. The stem can then be pushed inward to free it, and the remaining seat can be popped out of its recess.
Now I can carry on with getting this thing cleaned up. (And I feel much better now. I hate it when I don't know how something is constructed.)
- - -
And here it is cleaned up and back together.

Far more polishing could still be done, but I don't mean to make a career of this item; it's just a garden hose valve, after all.
It's a peculiar thing to reassemble. The ball doesn't want to seat readily on the fixed seat half. You have to screw in the removable seat half and tighten it and jerk it around and tighten it and jerk it around some more. Eventually, it all gets into place.
The screw-in seat half has to be secured with a sealant, else it can loosen. I applied Permatex Ultra Grey RTV gasket maker to the male threads only prior to its final reassembly, then left it to cure overnight.
I put a new washer in it and took it outside and tried it out. It works perfectly. So, if it's any comfort to that guy in the parallel space/time continuum who's lost his ball valve, I've done right by it.
Now, I have to come up with a handle for it.
- - -
And here it is.
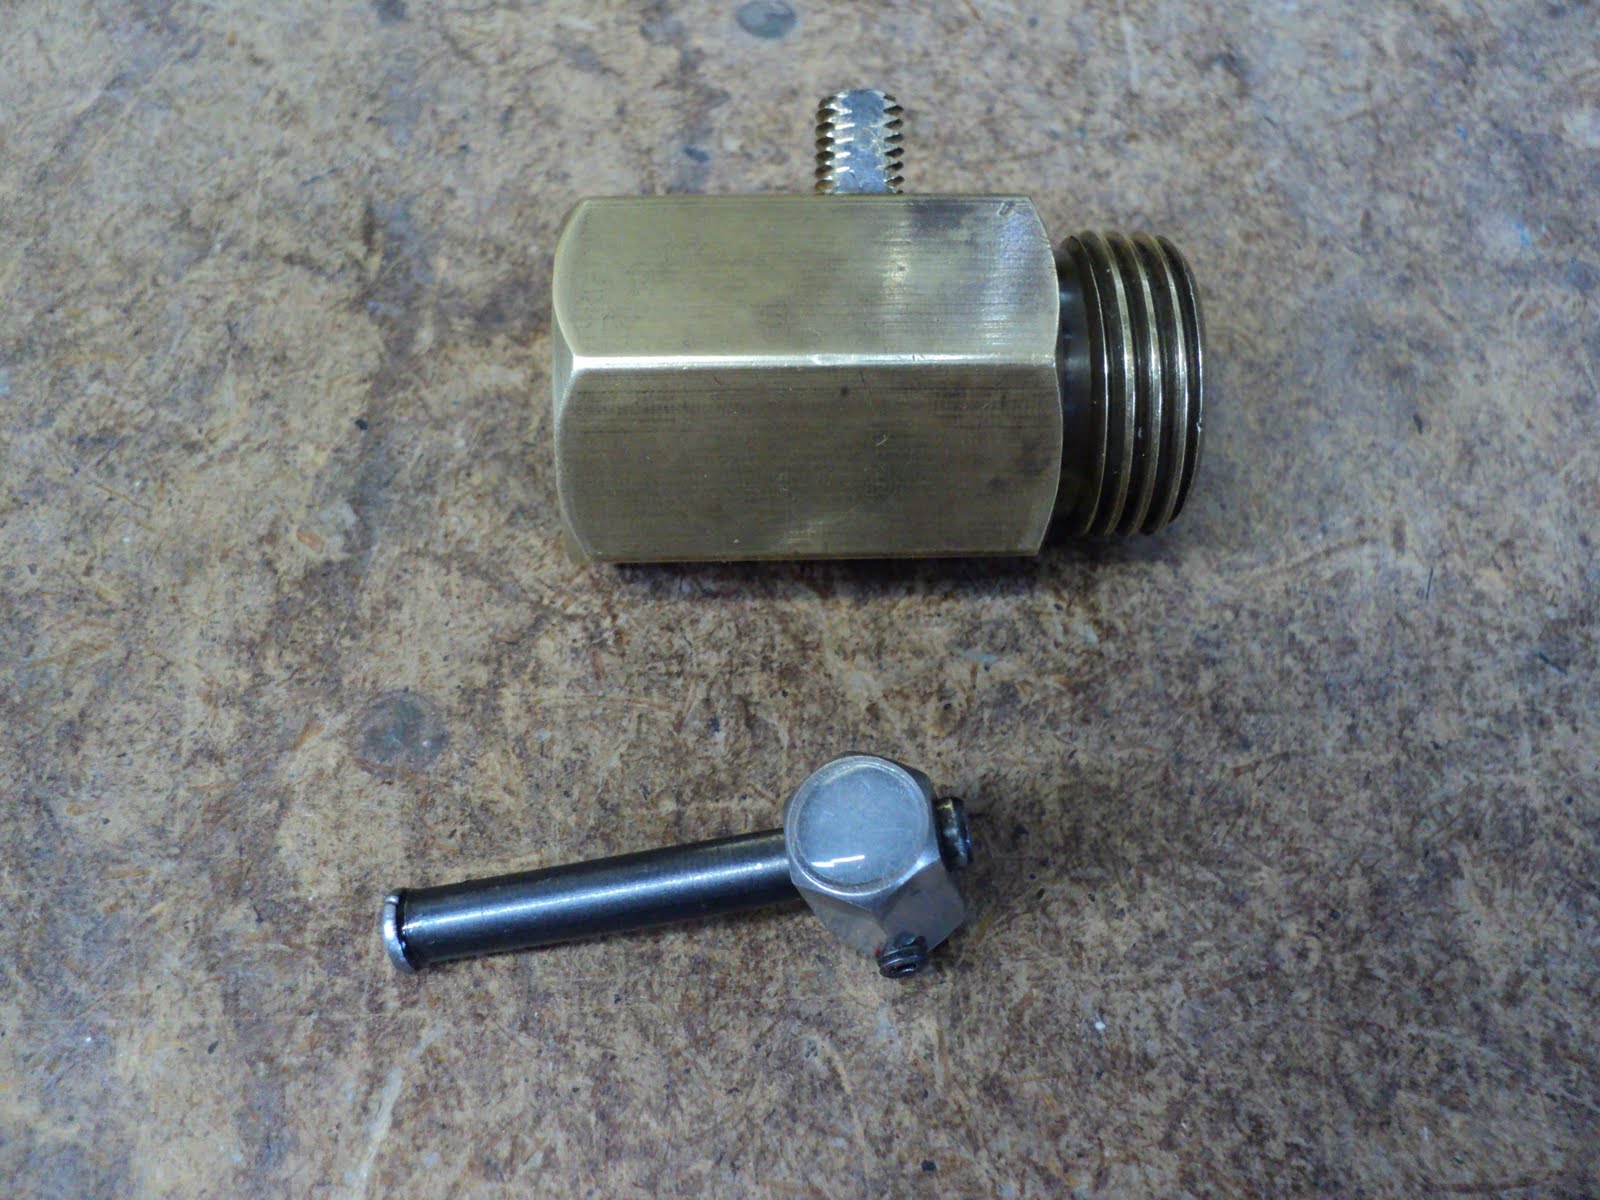 That was made from a 1/4"-20 coupling nut, a 7/32" x 1 3/4" roll pin, a 2 1/2" common nail, an 8-32 set screw and some five-minute epoxy. I bored and tapped the nut to fit the valve stem's M8 thread.
I had hoped to get a perfect convex meniscus from the epoxy fill at the top end, but it's not quite flawless. It'll do, though. The nail serves to mostly fill the hollow centre of the the pin, and give a finished appearance to the end of the handle. I glued the nail in place with CA adhesive, and then back-filled the pin's slot with epoxy to complete it. Here's a view of the underside showing the epoxy-filled slot.

Now it just needs a paint job and it'll be done.
- - -
And here we are.
 Not a bad outcome at all.
# # #
# # #
No comments:
Post a Comment